Microgreens: A Superfood Powerhouse on Your Windowsill
Microgreens are young vegetable greens and herbs harvested just 7–14 days after sowing. During this rapid growth phase, the plant’s concentration of vitamins and minerals is 5 to 40 times higher than in its mature counterparts.
Health Benefits of Microgreens
These young sprouts are a true "superfood." Rich in fiber and antioxidants, they provide a holistic boost to your body:
Detox & Cleansing: High fiber content aids in flushing out toxins and improving digestion.
Anti-Aging: Packed with antioxidants (such as rutin and Vitamin C), they protect cells from aging and enhance skin radiance.
Hair & Nail Vitality: Their regenerative properties strengthen nail plates and stimulate hair growth.
Cardiovascular Support: Helps lower "bad" cholesterol levels and maintain healthy blood pressure.
Immune Boost: A potent dose of natural vitamins supports overall energy and immunity.
Amaranth — The Microgreen Champion
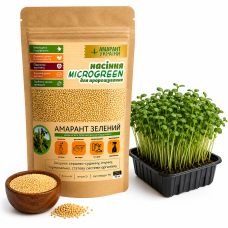
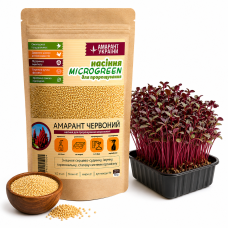
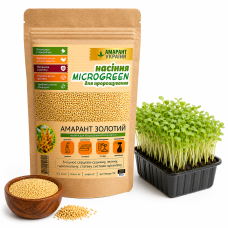
Amaranth microgreens deserve special attention. They outperform most other crops in nutrient density. Their secret weapon is squalene—a unique compound that oxygenates cells, accelerates metabolism (aiding in weight loss), and leaves your skin feeling perfectly smooth.
How to Grow Microgreens at Home: A Step-by-Step Guide
While some suggest growing microgreens on wet cotton pads, using soil is superior. It allows the plant to absorb essential minerals that water alone cannot provide.
Sowing Process (Using Amaranth as an Example):
Soaking: Soak the seeds for 8–12 hours to "wake them up" for faster germination.
Preparation: Use a shallow tray or container. Fill it with a thin layer of soil (2–3 cm).
Sowing: Spread the seeds evenly across the surface. They should be dense but not overlapping in multiple layers. Cover with a very thin layer of soil (approx. 0.5 cm).
Care: Mist the soil using a spray bottle. Follow the "Golden Mean" rule: the soil should be moist but not soggy to prevent mold.
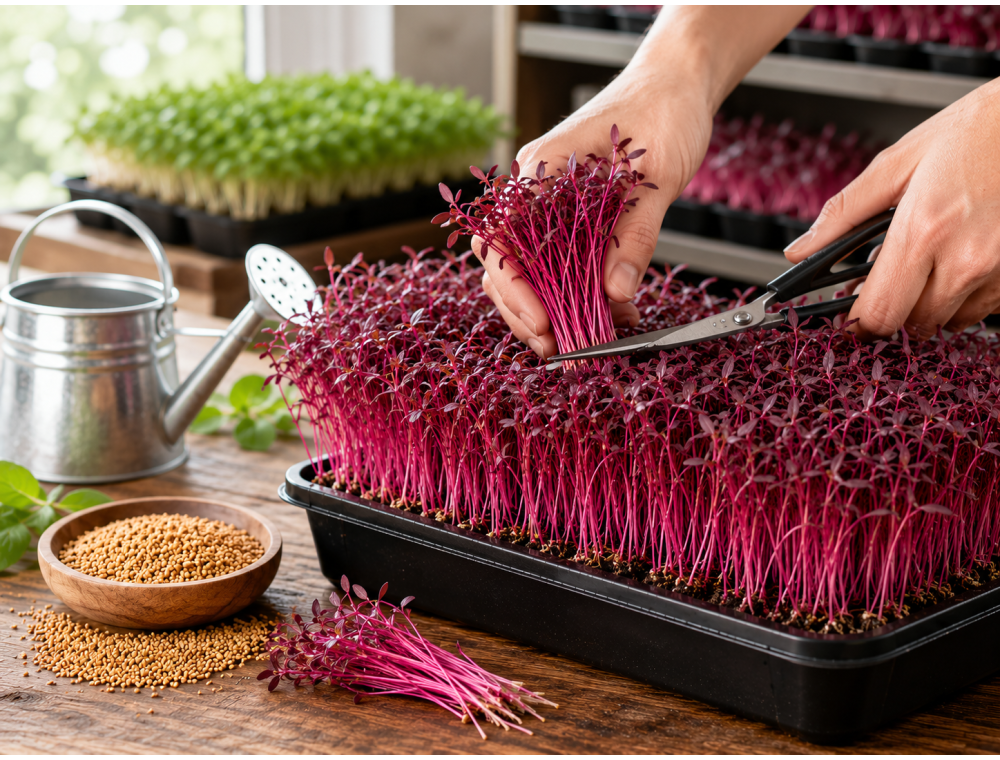
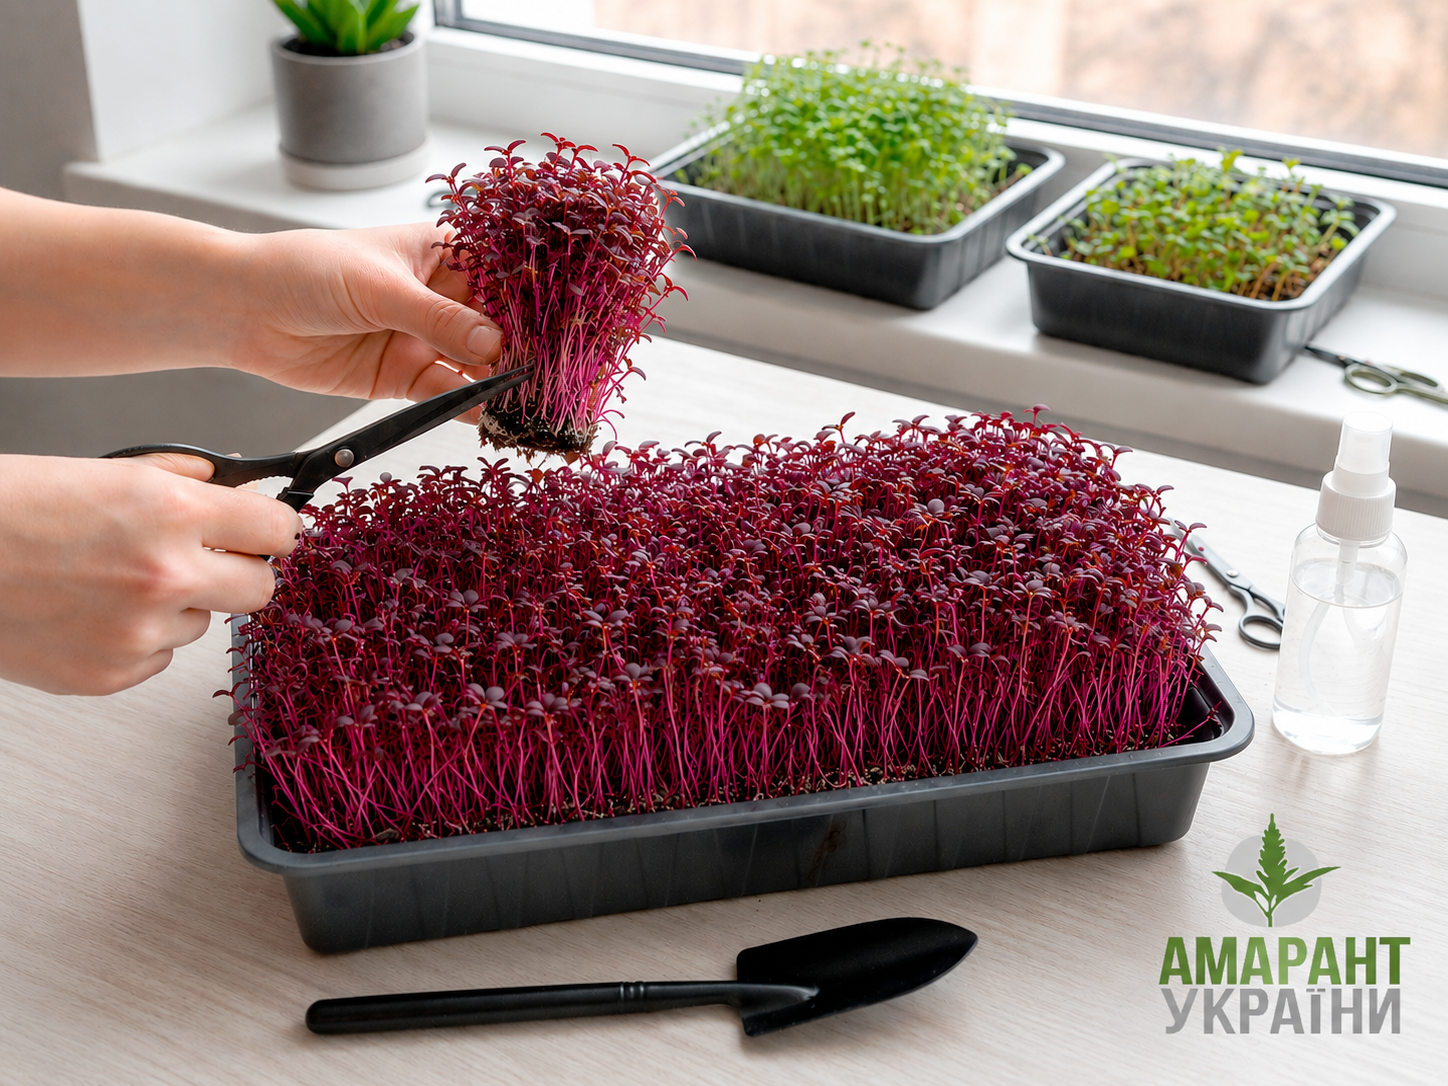
Harvesting: After 7–10 days, once the first true leaves appear, snip the microgreens with scissors just above the soil line.


Pro Tip: Never cook microgreens! Heating them above 40–50°C destroys most of their nutritional value. Always consume them raw.
Soil Selection and Storage Tips
Choosing the Right Soil: Avoid standard potting soil for flowers, as it often contains chemical fertilizers that young sprouts absorb instantly. Opt for pure worm castings (biohumus), coconut coir, or organic forest soil.
Storage: Freshly cut microgreens can be stored in an airtight container in the refrigerator for 3 to 7 days.
Freezing: Strictly not recommended. Once thawed, the greens turn into a mushy texture and lose both flavor and nutrients.
How to Enjoy Microgreens
Microgreens offer a delicate flavor with subtle nutty or spicy undertones. They are the perfect addition to any meal:
Garnish: Pair with meat, fish, or roasted vegetables.
Salads: Toss a handful into any vegetable or fruit salad for extra crunch.
Smoothies: Blend sprouts with apple, kiwi, or banana for a vitamin explosion.
Sandwiches & Toasts: Use them as a nutrient-dense alternative to standard lettuce.
Why Buy Amaranth Seeds From Us?
We are a certified producer of high-quality amaranth in Ukraine. Our seeds undergo rigorous cleaning and germination testing to ensure you get thick, healthy sprouts every time.
Ready to start your first harvest? Order our organic amaranth seeds today! [Link to Product / Buy Button]


Comments: